Free Shipping
on orders over $1,000
Taking photos and video through spotting scopes has long been a tool used by hunters and nature observers alike to identify animals and enhance the viewing experience. I remember looking through my dad’s old hunting albums and seeing prints of animals photographed with his old SLR through that dusty, old Bushnell spotter that is now taking up space in my closet.
Digiscoping, now, has catapulted in popularity especially with the advent of smartphone cameras. The image and video-making capabilities of our phones are so amazing now, it’s hard to get bad quality content.
But it still happens, a lot.
Luckily, Outdoorsmans is here to help. Along with being optics experts, all of us here are absolutely obsessed with glassing and subsequently sharing our findings with one another. Digiscoping adapters of all kinds are essential tools now in our packs.
I, for one, will not go in the field without several phone adapters as well as the adapter for my DSLR. In addition to hunting and a borderline dangerous obsession with gear, I am an avid photographer. For me, a lot of the enjoyment I get from glassing comes with capturing awesome images and video content of the animals I encounter.
Before we get into the dos and don’ts of digiscoping, let’s first talk about logistics. What do you need to be able to capture great content through your spotting scope?
First and foremost, you need a decent spotting scope. That old Bushnell sitting in my closet simply will not cut it.
As mentioned in previous posts, you want an optic with at least decent edge to edge clarity. There’s nothing worse than trying to decipher a video of a buck or bull when the only clear part of the image is the dead center of the field of view.
In the top tier, you’ll find the Swarovski ATX/STX/BTX system, the Leica Televid APO, and the Zeiss Harpia. If you have the $3,000.00+ to spend on a great spotter, you cannot go wrong with either of these options.
Moving down to the next price point, you’ll find the Swarovski ATS/STS system, the Zeiss Gavia as well as the Leupold SX-5 Santiam. These spotting scopes are spectacular at that $1,800.00-$2,600.00 price range.
These are all amazing options when you w how to choose a spotting scope that will suit your needs.
Personally, I use a Swarovski ATX 85mm, and, from time to time, get video and stills through my BTX as well.
One major thing you will want to consider when purchasing a spotter is what camera you will be using to capture images and video. All of the above options are available if you plan to just use your smartphone. However, if you are looking to step your game up and use a point and shoot, or DSLR, your options are a bit limited.
Swarovski, Zeiss, and Leica all make camera adapters that work with their spotting scopes. There are also several companies, like Tines Up and Novagrade that make more universal adapters that you can use.
Swarovski and Leica both make adapters that have optical glass to help refine the image. If you’re using a Swarovski modular spotting scope, you will want to go with their TLS APO. For Leica, use their Digiscoping Objective lens.
As an image snob myself, these are my top options as they will provide optimum image quality, however, they do come at a high price point at around $500.00-$550.00.
When using these two adapters, you need to consider the sensor size of your DSLR. Using the wrong adapter for your camera can result in vignetting where you get darkness in the corners of your image.
Zeiss also makes an adapter. Theirs attaches to the threads on the lens of your camera then slides over the top of your Zeiss spotting scope. Another great option for you!
When it comes to attaching your phone to that spotting scope, Outdoorsmans has you covered. We make a wide selection of adapters and rings that can fit most optics and phones on the market.
We have two types of adapters for your phone, our Digiscoping adapter with Stud and our iPhone Digiscoping Cases. The iPhone cases are specific to the model iPhone you have for a great custom fit case. These things are 3-d printed carbon fiber and Kevlar so they are very durable and lightweight.
The Digiscoping adapter is 100% machined aluminum and is more of a universal adapter that can work it pretty much any phone out there. It will attach to the back of any hard plastic case or directly to the back of your phone, although that is not recommended.
Most phones these days come equipped with several lenses as well as a flash. Both Outdoorsmans phone adapters will cover extra lenses and possibly the flash unit as well. I like to drop my iPhone in my OD case when I go out into the field and keep it in a separate case for daily use. The same goes for our Digiscoping adapter with stud.
Now that you have the adapter or case for your phone, you need to be able to attach to the eyepiece of your spotting scope. If you’re using the OD system, again, we have several options that are specific to your optics, however, we just came out with our 3-d printed adjustable digiscoping rings.
These rings come in three sizes: small, medium, and large, and will work with most any eyecup on the market. You simply thread the ring onto your case or adapter, slide over the top of your eyepiece and tighten the ring and you’re good to go!
As stated above, most phones have several lenses, a standard lens, a zoom lens, and possibly a wide-angle lens. Our adapters are made to fit over the standard lens. To figure out which lens is which, simply cover all but one lens with your finger and turn your camera on. Your phone will default to using the standard lens and switch to the zoom lens when you zoom in on your phone.
This will cause your phone to blackout when you go past a certain magnification. This happens because the zoom lens is not centered in the ring, and is possibly obscured by the case. For some reason, you cannot set the case to be centered over the zoom lens, it just won’t work, we’ve tried.
However, this where having a decent spotter comes in handy. What I like to do is start with my spotting scope on its lowest magnification, then I zoom on my phone to the threshold where the camera switches lenses, then I zoom on the spotting scope. This really helps as the zoom within the scope will not degrade the images as much as when you over zoom digitally with your phone. It also helps solve the issue of your phone blacking out.
A lot of the issues I hear of when it comes to these magnification problems can be solved by just getting closer. I know that it’s not always possible, but getting closer does allow you to get better quality video. You can only see so much out to distance and remember, as you digitally zoom, you degrade your image quality. I always will opt to beat feet and get closer if it’s an animal that’s worth it.
Ok, now that we have you set up with your phone or your DSLR, let’s talk about how to get the best quality content you can.
Step One: Get closer if you can - we’ve already established this.
Step Two: Once you get that animal in frame, pay attention to what else is in your field of view. Composition is key. I always try to level my horizon line (if possible) and follow the rule of thirds to place my animal in a more natural point of interest in my frame.
Step Three: This is the most important, DO NOT MOVE THE CAMERA TO FOLLOW THE ANIMAL. I cannot tell you how much I hate seeing this. Stop recording, reposition your frame, and hit record again. It is inevitable that you will get annoying shaky video, or move past the animal then over correct to get back, and now you’ve made your viewer seasick. Plus your video will simply look better when you allow that animal to move through the frame.
Now, let’s talk, briefly, about exposure control. This is a very simple adjustment you can make that will help you step your game up a bit. It’s super easy on your phone, but a little more complicated with your DSLR.
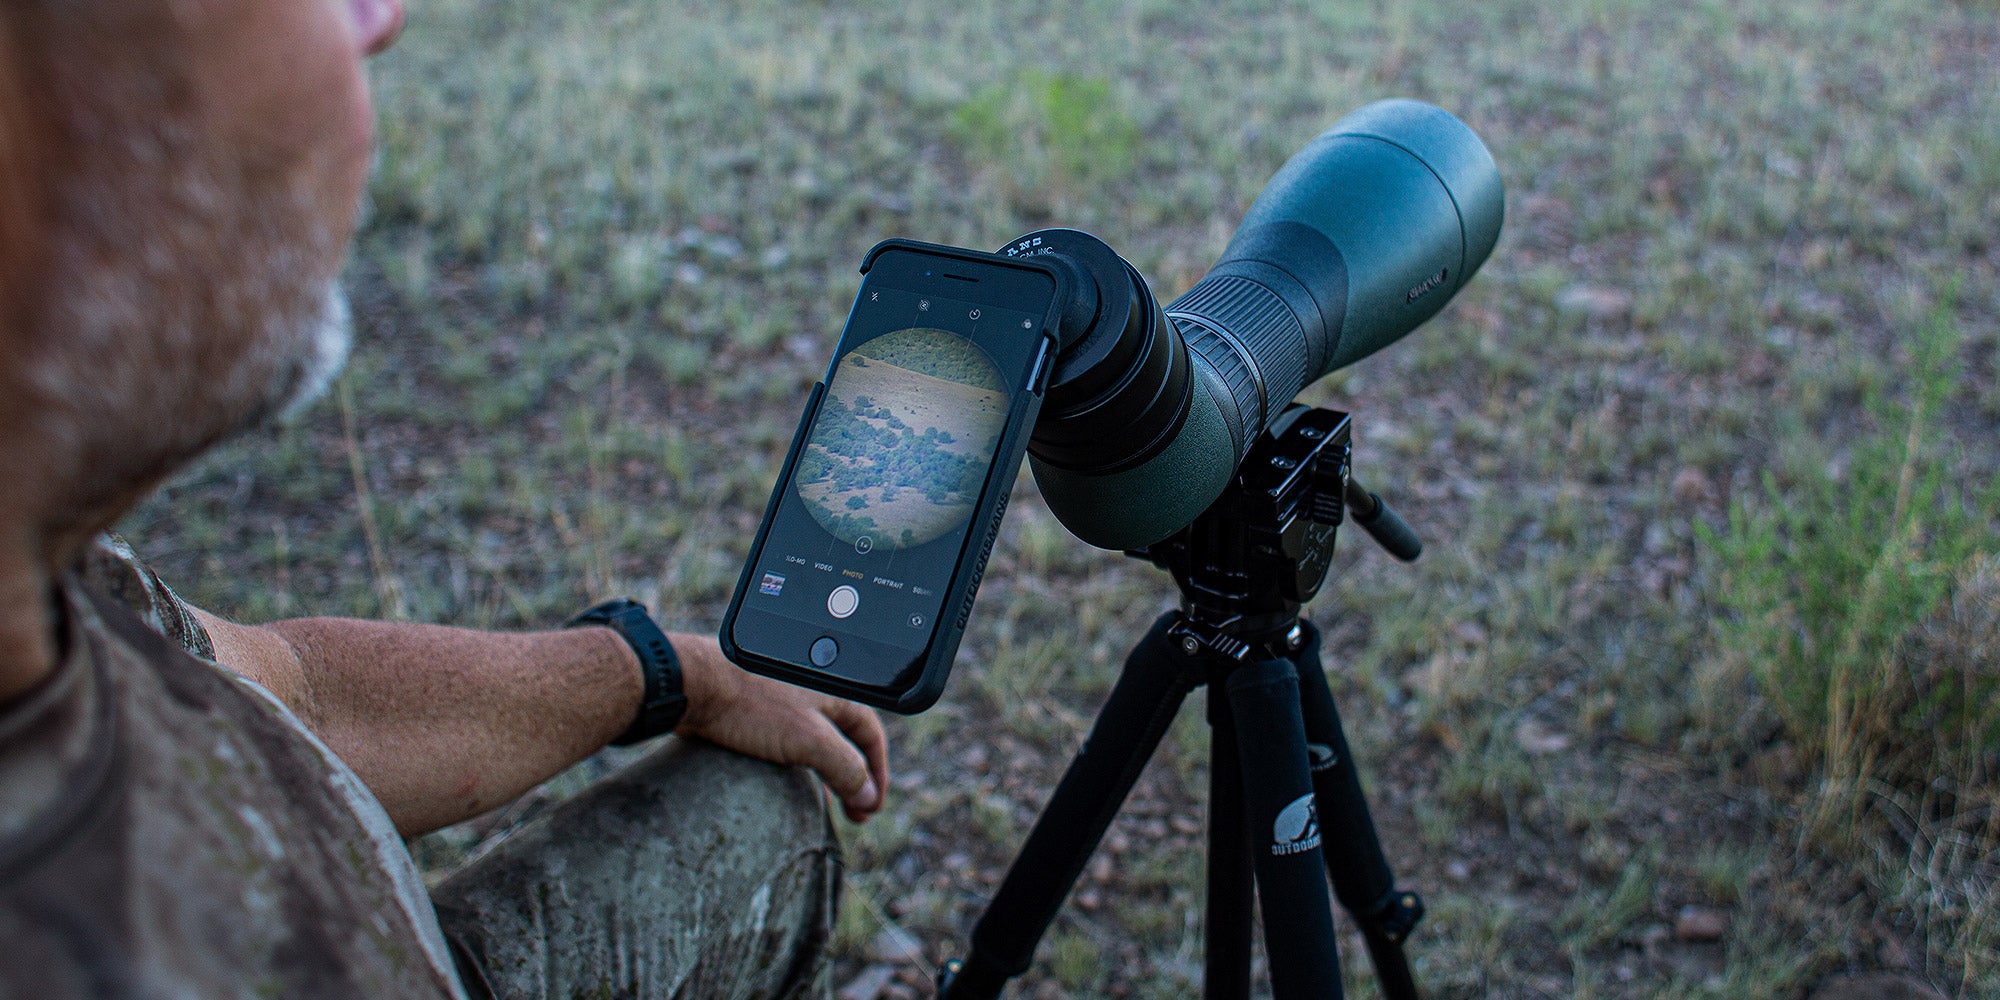
When digiscoping through your phone, once you get your composition set up, tap the screen where you want your image to be focused. Once the autofocus box pops up, you should see a sun icon with a scale. Simply slide this scale up and down to adjust the brightness of your image. Most of the time, you’ll want to decrease the brightness, but play with it and see what looks best to you.
When you are Digiscoping with your DSLR, it’s best to set your camera to Aperture priority. Normally, aperture priority allows the user to set a specific aperture value (f-number) while the camera selects a shutter speed to match it that will result in proper exposure based on the lighting conditions as measured by your camera’s light meter.
Your spotting scope does not have an aperture that you can change like the lens of your camera does, so shooting on aperture priority is a must as it will allow you to get a good baseline exposure.
It’s at this point that I will adjust my exposure to achieve better image quality. Now, if I am shooting stills, I will simply adjust my shutter speed. However, I am shooting video, I will adjust my ISO to achieve good exposure.
The reason for this is because you want your shutter speed set to double the frame rate of your camera. So if your camera has a frame rate of 29 frames per second, then you will want your shutter speed to be 1/60th of a second, if your frame rate is 60 frames per second, set your shutter speed to 1/125th of a second. So, in order to adjust your exposure, it’s best to change your ISO.
I know, it’s a lot but anything that’s worthwhile takes some effort. I find that the more and more I put these methods into practice, the more second nature it becomes. Chances are, if you’re using a DSLR already to capture your adventures, then you already have some knowledge of exposure and frame rate so don’t let this overwhelm you.
Just keep in mind that you know what looks good, take some pride in the content you’re creating and make the adjustments that you need to make. Oh, and please, do not follow the animal while recording!!
| Item | Price | Qty | Total | |
|---|---|---|---|---|
| Subtotal |
$0.00 |
|||
| Shipping | ||||
| Total | ||||